home page

Materials, as of 2022, less than $150 DIY.

Check local codes. Use HVAC tape.

When was the last time you inspected and cleaned your clothes dryer vent? 


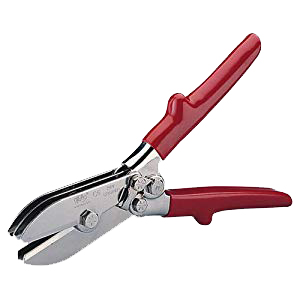
Each piece of duct should fit into each other piece, in such a way that the piece closest to the dryer should fit into the piece further from the dryer. This way, there’s no ridges for lint to get caught on. You’ll use a crimping tool, to crimp the end of ducts so that they fit into the next section.

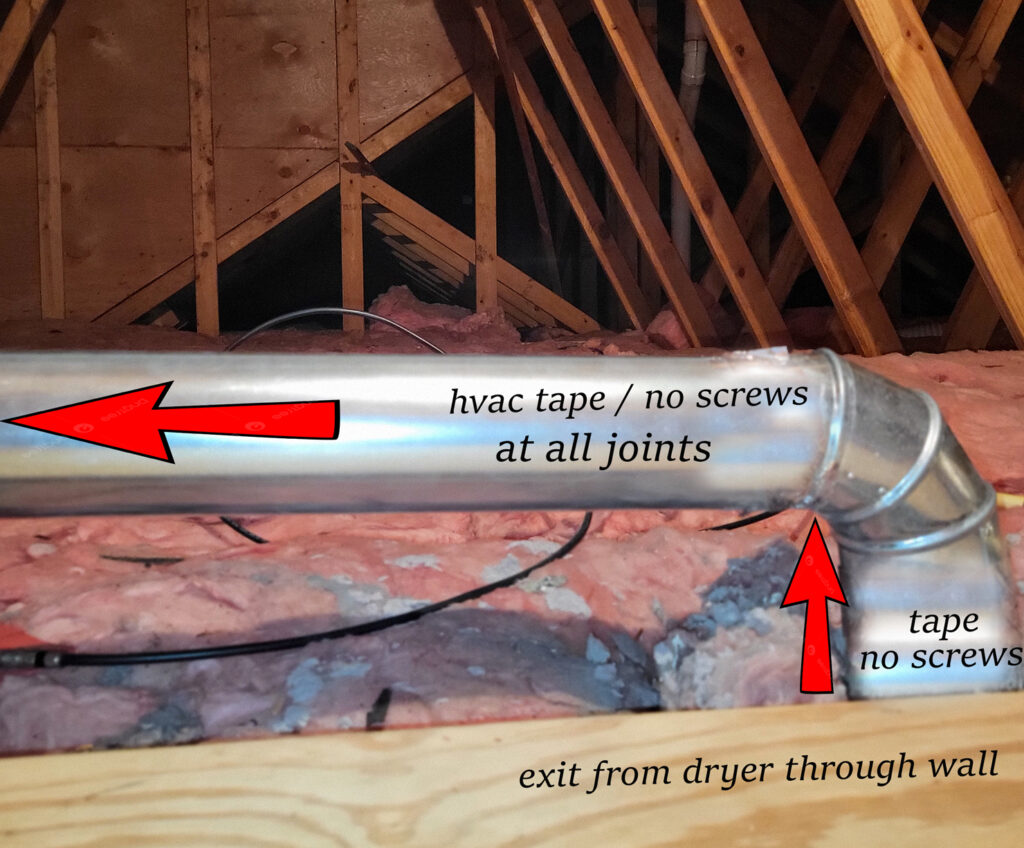
You can then seal the seam with foil faced tape, that is listed for the use. This will prevent leaks, and hold the duct sections together.

It’s not recommend to use screws for attaching sections of duct, as they could provide places for lint to get snagged.

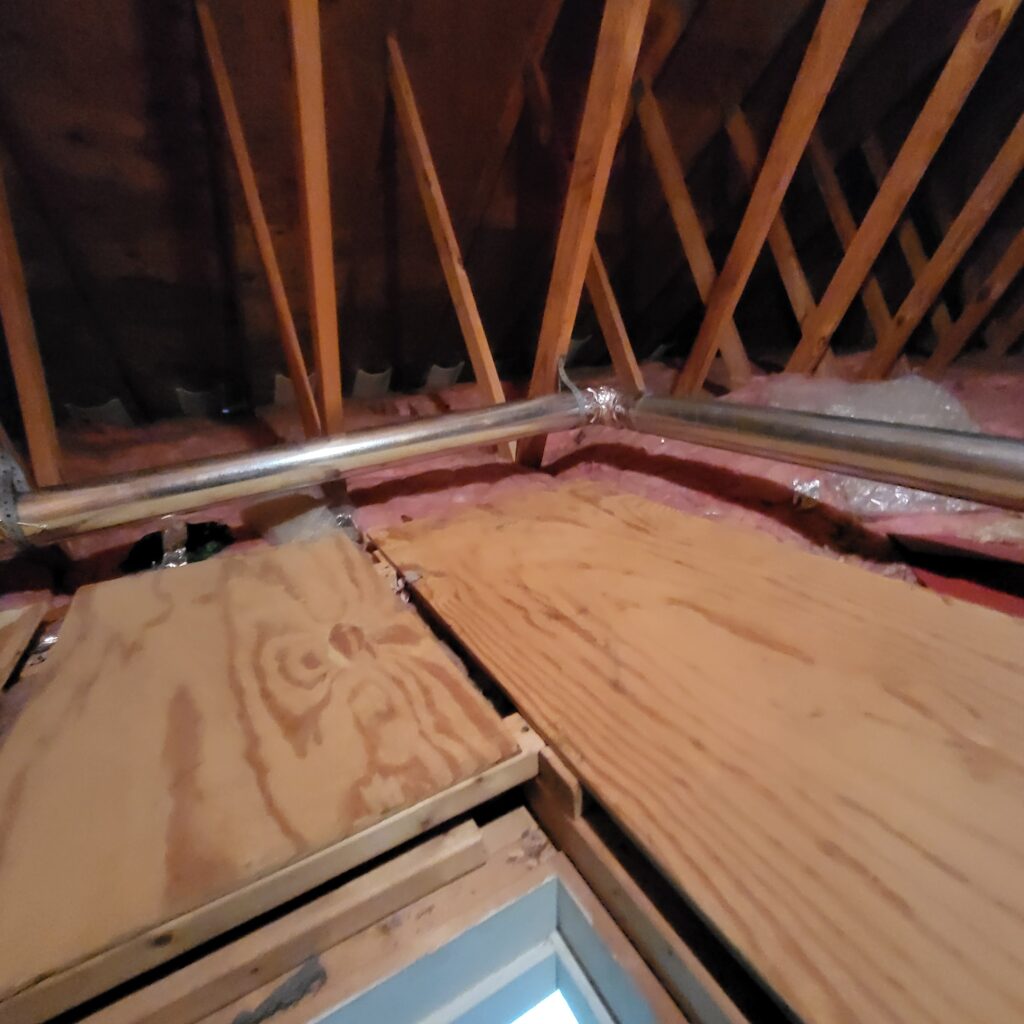
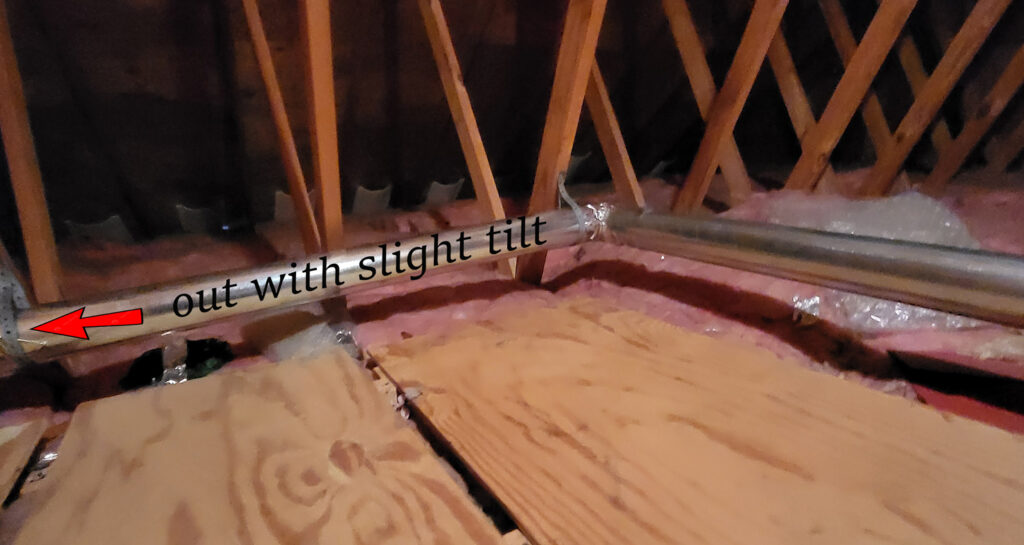
You’ll also want to support and secure the duct, so that it’s held firmly in place. This will reduce the stresses on the joints.

Rigid Metal Vents

Rigid metal vents, typically aluminum or galvanized steel, are the gold standard for dryer venting. It’s the best choice for most homeowners thanks to its durability, fire resistance, and efficiency. Case in point: We replaced an 8-foot-long plastic flex hose with a smooth metal vent and shaved 10 minutes off the drying time of a full load of clothes.

Rigid metal dryer vents also offer:

  • Smooth interior surface for optimal airflow
  • Resistance to crushing and kinking
  • Superior fire safety compared to flexible options
  • Minimal lint accumulation

Durability and Longevity

Rigid vents typically last 15-20 years with proper maintenance due to their robust metal construction. The smooth interior walls resist crushing denting and lint accumulation making them significantly more durable than flexible alternatives. These vents maintain their shape under normal conditions withstand temperature fluctuations and resist pest intrusion. Regular cleaning every 12 months helps ensure maximum lifespan.

Air Flow Efficiency

Rigid vents provide optimal airflow with up to 30% better efficiency than flexible alternatives. The smooth straight design allows air to move freely without resistance reducing drying times by 15-20 minutes per load. Flexible vents create turbulence due to their corrugated design which restricts airflow especially in bends corners. Restricted airflow forces your dryer to work harder increasing energy consumption by up to 25%.

Always use metal duct tape to secure the joints; don’t use screws, because they can catch lint. Do not use regular plastic duct tape because it dries out and deteriorates. 

It is a good idea to get into the habit of cleaning your dryer vent regularly—annual cleaning is best. There are a variety of inexpensive accessories that allow you to use brush out the inside of dryer vents and vacuum them free of trapped lint.


A rigid metal duct tends to be the best type of dryer vent hose. This tube provides a straight, direct line to the outside. Its inner wall is smooth, and it lacks the ribs found in flexible dryer hoses.

Every  year I will disassemble vent pipes to check for damage, HVAC tape at joints allows for easy removal. Remove pipes and clean outside or in garage. Reassemble, paying attention to secure joint fit,  and secure using same mounting brackets and reexamine pitch. Tape joints.  Not as difficult as it seems. Also, I labeled the pipes for resemble. If I can do it with one hand, you can too. (radio nerve palsy)

The entire vent should be run in rigid, galvanized steel. Only use flex for the tiny bit to connect to the dryer

Clean inside dryer

Cleaning your dryer vent is an essential maintenance task that can improve the safety, efficiency, and lifespan of your dryer while also improving indoor air quality. It’s recommended to clean your dryer vent at least once a year to prevent these issues from occurring. If you saw the 25 feet of curly plastic  flex venting when I first purchased the town house located in the attic you would have cringed. 

 Dust Swifter with extension and leaf blower. I advise not to use leaf blower with assembled vents. Great for short strait pieces, and no bends. 

A best practice is to have the exhaust terminal located so that the exhaust duct will run horizontally with a slightly downward slope (1/4-inch per foot) to reduce the possibility that condensation will form.

To long…Cut it as short as you can while still being able to slide it out enough to fasten it. The only time I use flex. Metal)

And while you’re at it, good time to clean air duct. I inherited this dust mess. $6 and DIY cleaning. Looks brand new now.

Scroll to Top